Hanmade in Cornwall

Hanmade in Cornwall

Monday 8 December 2014

hanmade zip pouch bag

I love making these cute little bags. They are perfect for hair accessories, makeup, jewellery, knitting equipment you name it, everyone needs one. 
I like how they are free standing and that you can make them any size. 
What do you think of my birdie bags? 


Hanmade lense friend tutorial

What else could I make for my photographer Dad? This is it! So simple to make and I think and hope that it helps him. Im sure it will get a giggle as I ecplain what it is but then I think he will appreciate it. He does lots of kids and family photography so I thought this would be perfect.

Equipment: your camera - you need to measure around the lense, elastic, fabric, googley eyes, pompom.

I measured the lense 11" so thats what I cut my elastic. Doubled the fabric length to about 20". 
Fold in half right sides together.

Sew a line down the open edge but leavr a gap each side of aboit 3-4cm. 
then turn it round the right way.
The find the ends and pin them together. Yhen sew along yhat edge line. Your joining the two ends together.

Sewn end. Almost done!

Then push that Edge in. You now have a gap for your elastic to go in. 
Attach safety pin to the elastic and thread it through, keeping hold of the end. 
With the elastic overlapped stitch over the edges, securing them together.

Push the elastic into fabric. Bring the fabric edges together to close the gap and stitch closed. 
glue on some googly eyes and a pompom nose.
Tada! 

Perfect to distract any little one whist taking their photo.


Hanmade tea towel

This makes for a super simple gift for grandparents or teachers.
Grab a picture your child has drawn, trace it onto tea towel usind a sharpie pen.
And thats it!
I made this with hand prints on. I found tracing the text rather than doing it myself an effective and quick way.


Sunday 19 October 2014

Hanmade Christmas hearts

So Ive started my Christmas making, I know its only October but its never too early!
Do you remember the lovely ribbon I bought? Here. Ive been busy making with it.
What do you think?


Why make one or two when you can make more!
Which one is your favourite? 


Wednesday 15 October 2014

crafty ideas


Here are a few creative inspirations for you.
Make this lovely lampshade

We always have things to be thankful for, why not make a special thing of it in your home.


I love this wood and rope shelf, so easy to make

indigo love

Im loving these at the moment.
I saw these on the front cover of the Sainsburys home magazine. And I have big plans for them to be in my home! 
Its about time we got some new mugs and the platter and jug to match with tge plates and bowls! 
Hello! Indigo crockery, Im sad I know but Im really loving this set at the mo. 
I really like the blue colour, patterns but I like that they aren't all the same. 
I can so imagine them on my dresser, Ive given my husband lots of hints, we will see! 


This is one of the pictures from the magazine. The wall is more yellow in the photo. I think it works well with the indigo colour. Also the wooden chopping boards. 
If you love these to check out Sainsburys

Friday 10 October 2014

new christmas bits & bobs

Its the simplest of things! Ive done some odering and look what Ive got...

Red card and brown envelopes. Already to make my christmas cards. I know its early but I want to get them made so that they are done. 
Are you making your own cards this year? What will they be like? Mine are going to be simple with some stitching and stamping. You will have to watch this space...

look at this lovely fabric. Got plans to make some christmas  hanging hearts.

My favourite is the reindeer fabric. 
I choose mainly red and blue christmas fabric as I didn't want to do the typical red and green. 

And some beautiful christmas ribbon, hello! Love these. 

What are you making for this Christmas? 
I will put some ideas up soon. 


Monday 6 October 2014

Its been a while

It certainly has! 
I had my second baby 5 months ago now, he is doing so well, what a gift he is to us. 

Although I have been busy with two kiddies that doesn't stop my mind from being creatively busy! 
Check out my Pintrest boards for some new creative pins. 

But for now I leave you with this new Photography site with some great pictures
Click here


Enjoy! 

Tuesday 15 April 2014

Hanmade changing mat and dribble bib

What else is there to do when your 38 - 39 weeks pregnant?!
I know make your own changing mat and dribble bib!
This was one of those projects that I kept changing my mind about and then one day I got the impulse! So I did it!
 
I have made the dribble bibs before, so that was really quick. The mat I had never done before but is really easy. I was able to make it the size that I wanted using oil cloth. Not my favourite fabric to sew with. I used the backing blue fabric so that it folded over to make the front binding edges, which saved alot of time but also meant that the oil cloth wasnt doubled over making it thicker for sewing.


Who needs to buy these things?! I hope I have inspired you to make your own.
Now all I need is the baby!
 
* waiting patiently, mostly!
 

Monday 24 March 2014

Hanmade teacup and tea pot coaster set

I made these cute coaster sets by using a template pattern I found. Arent they cute and they are so simple.
I started by doing a set in plain fabrics but then tried out patching some fabrics together. If I was to do this again I wouldn't patch fabric together as it made it bulker to sew when it was the right way round. I like the simpleness of the plain fabric.
 
 
go here to find the tutorial and instructions.
Enjoy!
 

hanmade pinafore dress

I am really pleased with this project. My daughter has a pinafore dress that every time she wears it I alwasy think that I could make something similar. So I decided to go for it. BUT it meant I had to make my own pattern from the dress but to also enlarge it as she keeps growing! Eck I hadn't done this before so I was going to take each step slowly.
 
 
So I made a paper pattern of the top part of the dress. After measuring her waist and chest just to clarify her size. I then make the paper into a fabric patter pining it together at the sides and trying it on on her. It seemed to be a good fit.
So I then moved on to cutting out the fabric I was wanting to use.
I found the pink lining fabric and attached that to the main fabric. I knew once I had sorted out the bodice then the skirt part would be easy. It could be made to be as full  and long as I wanted it to be.
I am pleased I made a pattern, it now means I can make another dress and adapt it too!
My daughter is really chuffed with it, asking to wear it and thanking God for "her dress that mummy made!"
 

around here recently....

 
 Making models with my daughter!
Its defeintly spring around here which is lovely although after such a mild winter Im still waiting for the cold and rain. Taking advantage of the sunshine and breeze its great to be able to get the clothes drying on the line, especially baby clothes. I am now due baby number 2 in four weeks, eck, we are very excited! I can't see my feet any more and waddle like Jemima Puddle duck! But all is good.

Thursday 30 January 2014

Hanmade girlie bag

 
  I made this cute bag for my daughter Sshh - I havent given it to her yet!
I am putting a busy bag together go here for more busy bag information.
This is what I am going to keep all the small activities together, when she needs something fun and special to do. It isnt going to be an anytime toy, something to get out when maybe I feeding baby in a few months time...
 
 I made a cute cat and bunting on the front. I hope she likes the cat, she was given a stuffed cat for Christmas which was my inspiration.


Thursday 23 January 2014

Hanmade dolly nappy bag and change mat

 
With number two on the way I have been trying to get a few small sewing projects done for my daughter to enjoy for when baby arrives.
The one dolly thing she doesnt have is a nappy change bag and accessories. Instead of going to buy one I thought I would give it a go.
Check out the many photos below to see how I made it!
 
Nappy bag
 
Gather your fabrics together. I also used a fleece lining to give it some body.
Cut out one of each 10" x 26"
x2 sides 10"x 26"
 strap length
pocket plus what ever you want to applique
 With the fleece lining underneath and the top fabric on top pin and applique
your design into place.
Now pin the two sides (including the fleece lining underneath)  onto the outside fabric.
Sew down the legnth of the bag, dont take the needle out, just turn the top fabric round to the edge and sew along the short edge, dont take the needle out, but turn it again to sew the other long edge.
Repeat this for the other side. 
Turn round the right way.
Its taking shape!
 Repeat with the lining.
 To make the handles:
fold and press inhalf right sides together.
Sew down this length.
Put a safety pin into the fabric on one side and push it through, pulling it all the way down the fabric.
Press your tube flat.
I want rounded corners for the flap of the bag, so I drew round a small dish and cut along the line.
Pin the lining and the bag right sides together. This might take a little bit of working out. But take your time so you get it right.
Make sure when you start sewing you leave a gap for later that itsnt sewn.
When you have sewn all the way round, turn the right way round.
This is my gap on the flap of the bag.
Press the bag particuarly the flap and then sew the flap closed.
Pin the velcro into place and sew.
tada!
Thats it.

Im really pleased how this has turned out.
 
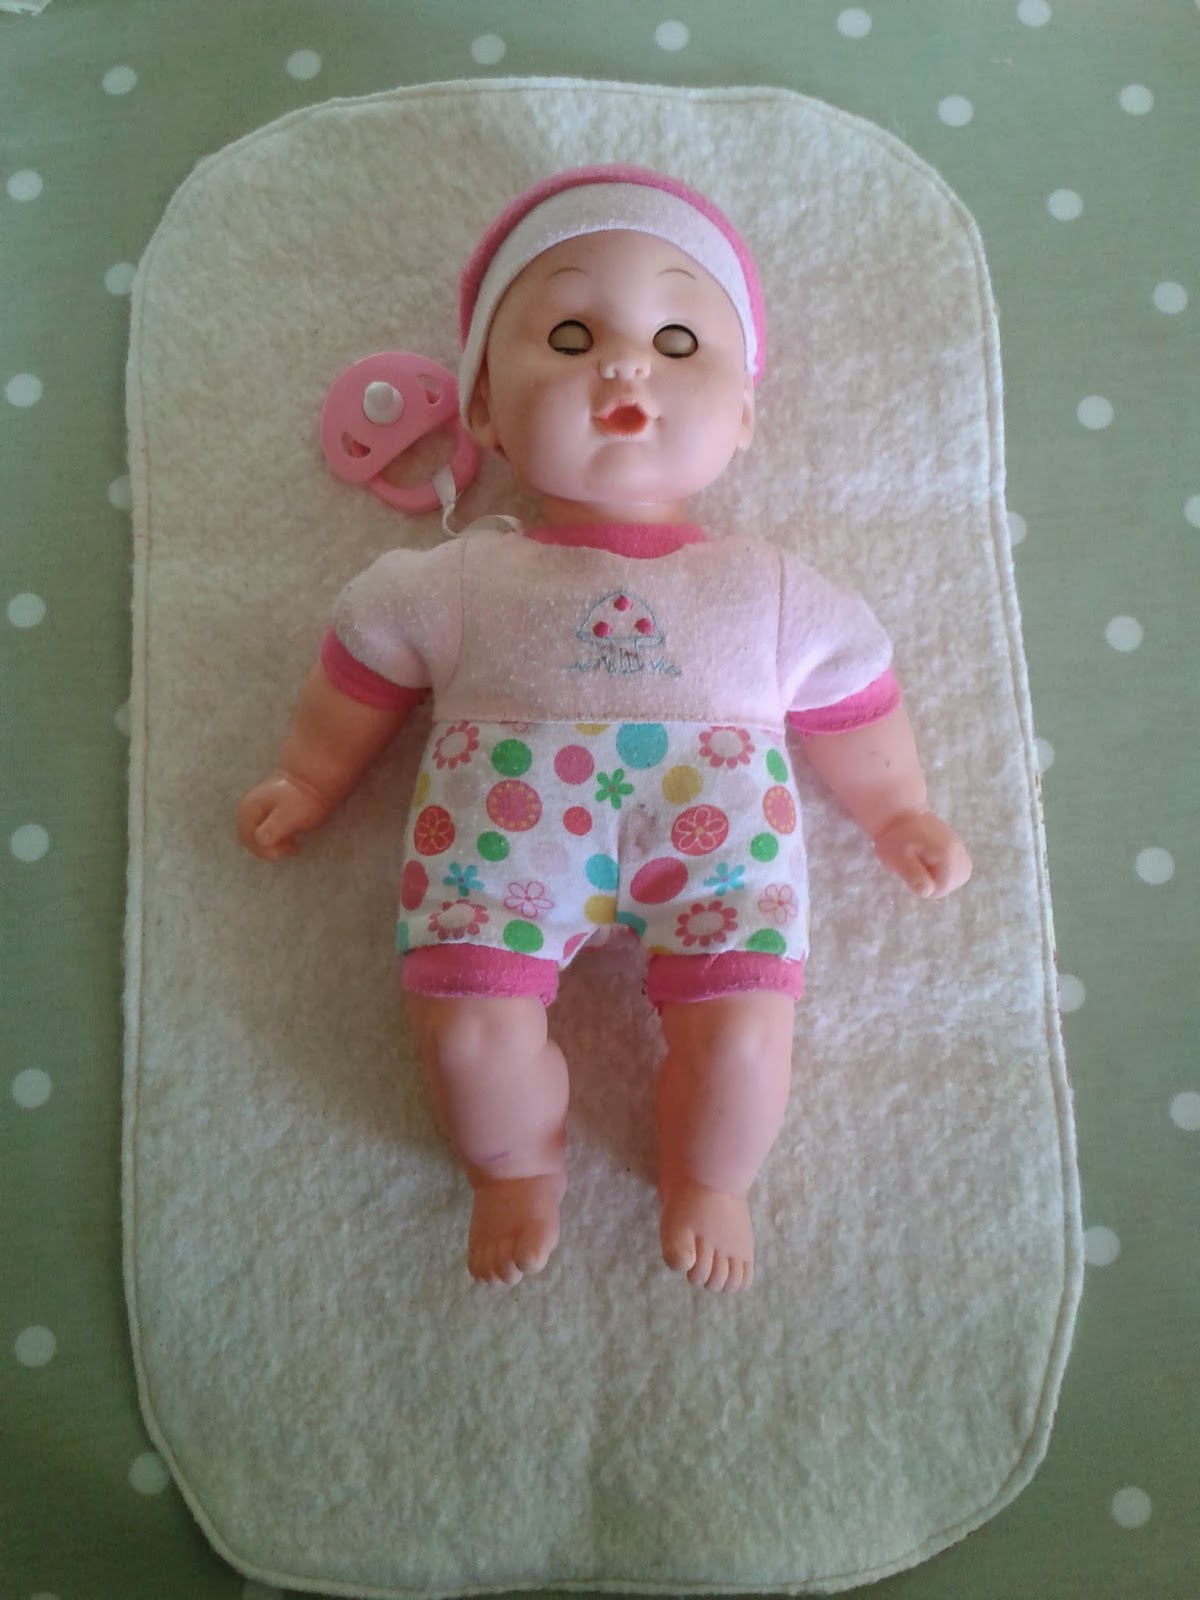
I also made a small change mat for dolly too! Why not?!
 

Change mat 
 
I used a cotton and a really soft fluffy fabric.
Cut your fabric both to the same size.
As above I wanted rounded edges on each corner.
Sew round all the edges right sides together leaving a small gap on one side for later.
Turn the right way round and press.
 Here is my gap, sew around all the edges paying particular attention to the gap so all the edges are gathered in.
Thats its!
Very quick and easy!
 
I would like to make some bibs and nappies for dolly too, maybe another time!