We have had a very wet few weeks, grr, and with a toddler it means being creative and dry! But today the sun has come out, happy mummy here! Been for a lovely fammily bike ride.
Thinking about the week ahead... look out for an update on my seedlings, paper bow making for a gift, vegtable soup recipe and more Hanmade baby bibs! If in the mean time you haven't seen my baby bibs yet, they have been really popular, check them out here.
See you tomorrow :-)
Hanmade in Cornwall

Monday, 30 April 2012
Friday, 27 April 2012
Hanmade hendo Invite
So my sister is getting married this summer, yay! I am in charge of organising her hendo before she gets married. I wanted to invite the hen and girls in a 'hanmade' kinda way. So I made my own invitation to the event.
Its very simple and easy. I printed the information onto mixed paper and printed them. I sewed them together with a back piece of card and added a coloured heart at the top, simple!

Cut out the paper

Piles of each page

I used paint swotches to make my hearts, love the colours


Cut out mmixed card for the back part

Sewn together and looking good.


Backs of the invite


Looking forward to it!
Thursday, 26 April 2012
Another Hanmade cushion
A few days ago I wrote about some cushions I had made. Here is another one I have made...


I made this one with an envelope back, making it easy to take the cushion out to wash the cover.

tada!
Wednesday, 25 April 2012
April Inspirations
Here are my latest fun and crafty ideas, enjoy!

1 Mini Album from One Sheet of Paper thecreativeplace.blogspot.co.uk
2 Recycled cans loveliegreenie.tumblr.com
3 Lined canvas nappy box designsbymke.blogspot.com.au
4 Summer wreath casabellaproject.com
5 Painted pinecones ashleyannphotography.com
6 Flower paper heart mondocherry.blogspot.com
7 Notebook with giftcard holder craftsy.com
Monday, 23 April 2012
Hanmade cushions
A while ago I did some research here into cushions as I was planning on covering some cushions in my lounge. I worked out which fabric I wanted to use and I got to it!

What do you think? I hope you like my new ones! Here is a step by step of how to make them. The pictures beloiw is how I made the cushion on the right.
I hope it inspires you!
 My chosen fabrics
 I measured out stripes of fabric.
 Sewed them right sides together.
 This is the back of the cushion. Four panels make up the back. Press the back seams open.
 Cut and sew in the same way as before the front panels.

 When you have a front and back, pin them together right sides together.
 Pin all the way round.
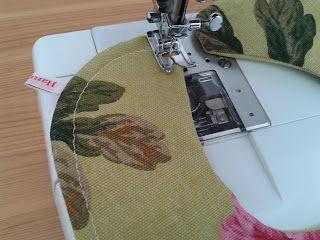
 Sew around the edges.

 .... But don't sew a complete loop round, leave an opening of a good few inches.
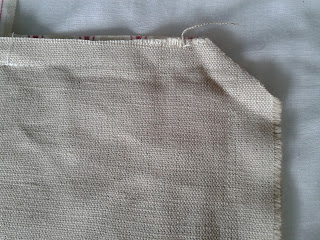
 Cut diagionally across the sewn corners. This neatens the corners up once the right way around.

 Turn it inside out.

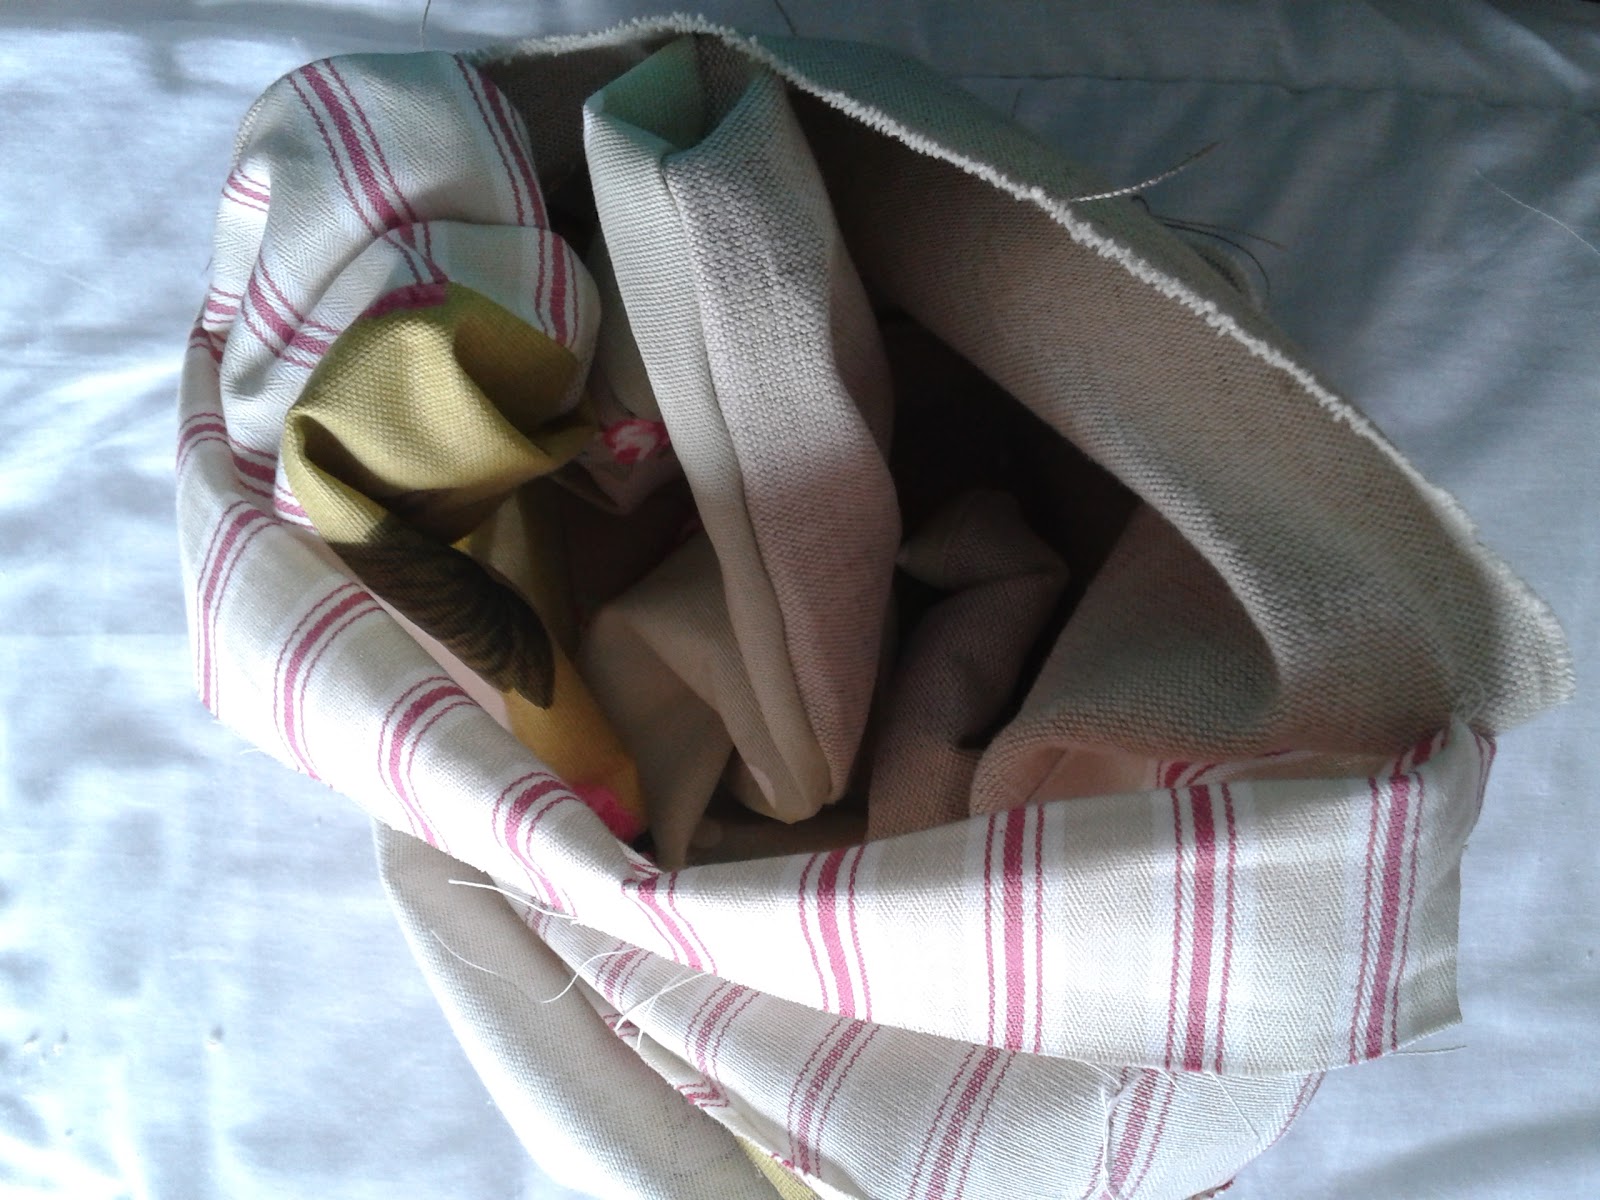
 Iron the cover. Stuff the cushion into the cover.
 This is where you didn't sew before. Its big enough to get your cushion in.
 Pin the hole together.
 Sew the gap up.
 Neatly sewn!
 And thats it! Easy.
 I made another one too! I think they look good together.


What do you think? I hope you like my new ones! Here is a step by step of how to make them. The pictures beloiw is how I made the cushion on the right.
I hope it inspires you!


Take a closed pair of scissors and point out the corners. Don't they look nice and neat!?


The finished cushions.
I enjoyed making these and love the fabrics.
Next time....
I will show you and envelope cushion for another chair in the lounge.
Friday, 20 April 2012
Ladies casual top - inspirations
I am always after new projects and haven't made myself clothes for a long time. I think about it, have ideas and even think about the actual sewing of it, but it never happens. Maybe these top will inspire me and you!
Have a look at a few I have found
 Check this tutorial out.
I love the steps in this to use elastic in your sewing machine to do the shirring at the top - so easy. I will definetly use this technique for other projects.
 Check this tutorial out.
I particuarly like the pockets, cute
 Check this tutorial out.
This is a great tutorial, with some information on altering it to your own tase, ie without the ruffles. I like the pleats.
A great top for summer.
These make me want to go a raid my fabric basket and see what kind of top I could make.....!
Have a look at a few I have found

I love the steps in this to use elastic in your sewing machine to do the shirring at the top - so easy. I will definetly use this technique for other projects.

I particuarly like the pockets, cute

This is a great tutorial, with some information on altering it to your own tase, ie without the ruffles. I like the pleats.
A great top for summer.
These make me want to go a raid my fabric basket and see what kind of top I could make.....!
Thursday, 19 April 2012
Gathering paper together
I made this a while ago as I was planning my daughters birthday party. I had a few pieces of paper with lists and ideas on and I wanted to gather them altogether in one place so I wouldn't loose them and know where all my ideas were. So I decided to sew the pieces of paper together! Simple really! And thats it!
The paper are different colours and sizes as that is how it is! But I think it adds to the quirkyness.
Why not make a list so you can sew it together!
Have a look at mine.....


The paper are different colours and sizes as that is how it is! But I think it adds to the quirkyness.
Why not make a list so you can sew it together!
Have a look at mine.....


Wednesday, 18 April 2012
Sewing project ideas
Here are a few ideas from Pinterest of some of my favourite sewing project ideas at the mo. I have included some different ideas to hopefully suit alot of people and to get your creative juice going! Enjoy!
1 Girls apron thelovelylittlethings.blogspot.com
2 Tote bag etsy.com
3 Recycled jeans to a skirt maryjanesandgaloshes.com
4 Fabric rosette littlebirdiesecrets.blogspot.com
5 Round nesting baskets 2littlehooligans.blogspot.com
6 Ruffled flower dress 2giggleboxes.blogspot.com
7 Fabric photo album familyhomeandlife.com
8 Wool/ Felt envelopes clevercharlotte.com
Monday, 16 April 2012
Hanmade baby bibs
This is a great project to make. Its easy and you make great results. Using scrap pieces of fabric to make these lovely baby bibs.
I made these 3 bibs as a gift for a baby shower I was going to. I hope you like!

 I made my own template so that I could make as many as I wanted to.
 Trace around the template onto the fabric. Making sure the fabric is turned right sides together.


 Then sew onto the drawn line. You are sewing the 2 pieces of fabric together. Make sure you don't complete it, leave about 6 inches open.
 Then cut around your stitches leaving a small lip where you haven'y sewn. Turn the fabric inside out (using your unsewn gap)
 Looking good so far! Press it with an iron. I added a small sewn label onto one side.
 Then stitch around the edge of the fabric, this finishes it off nicely and sews the gap that was left open.
 Add a small velcro strip to the top. Pin in place and sew.

 And Tada!
I think it looks great. I then made a few more.


I hope you enjoy making these. Let me know how you get on!
I made these 3 bibs as a gift for a baby shower I was going to. I hope you like!

My chosen fabric


I think it looks great. I then made a few more.


I hope you enjoy making these. Let me know how you get on!
Subscribe to:
Posts (Atom)