Hanmade in Cornwall

Hanmade in Cornwall

Thursday, 30 January 2014

Hanmade girlie bag

 
  I made this cute bag for my daughter Sshh - I havent given it to her yet!
I am putting a busy bag together go here for more busy bag information.
This is what I am going to keep all the small activities together, when she needs something fun and special to do. It isnt going to be an anytime toy, something to get out when maybe I feeding baby in a few months time...
 
 I made a cute cat and bunting on the front. I hope she likes the cat, she was given a stuffed cat for Christmas which was my inspiration.


Thursday, 23 January 2014

Hanmade dolly nappy bag and change mat

 
With number two on the way I have been trying to get a few small sewing projects done for my daughter to enjoy for when baby arrives.
The one dolly thing she doesnt have is a nappy change bag and accessories. Instead of going to buy one I thought I would give it a go.
Check out the many photos below to see how I made it!
 
Nappy bag
 
Gather your fabrics together. I also used a fleece lining to give it some body.
Cut out one of each 10" x 26"
x2 sides 10"x 26"
 strap length
pocket plus what ever you want to applique
 With the fleece lining underneath and the top fabric on top pin and applique
your design into place.
Now pin the two sides (including the fleece lining underneath)  onto the outside fabric.
Sew down the legnth of the bag, dont take the needle out, just turn the top fabric round to the edge and sew along the short edge, dont take the needle out, but turn it again to sew the other long edge.
Repeat this for the other side. 
Turn round the right way.
Its taking shape!
 Repeat with the lining.
 To make the handles:
fold and press inhalf right sides together.
Sew down this length.
Put a safety pin into the fabric on one side and push it through, pulling it all the way down the fabric.
Press your tube flat.
I want rounded corners for the flap of the bag, so I drew round a small dish and cut along the line.
Pin the lining and the bag right sides together. This might take a little bit of working out. But take your time so you get it right.
Make sure when you start sewing you leave a gap for later that itsnt sewn.
When you have sewn all the way round, turn the right way round.
This is my gap on the flap of the bag.
Press the bag particuarly the flap and then sew the flap closed.
Pin the velcro into place and sew.
tada!
Thats it.

Im really pleased how this has turned out.
 
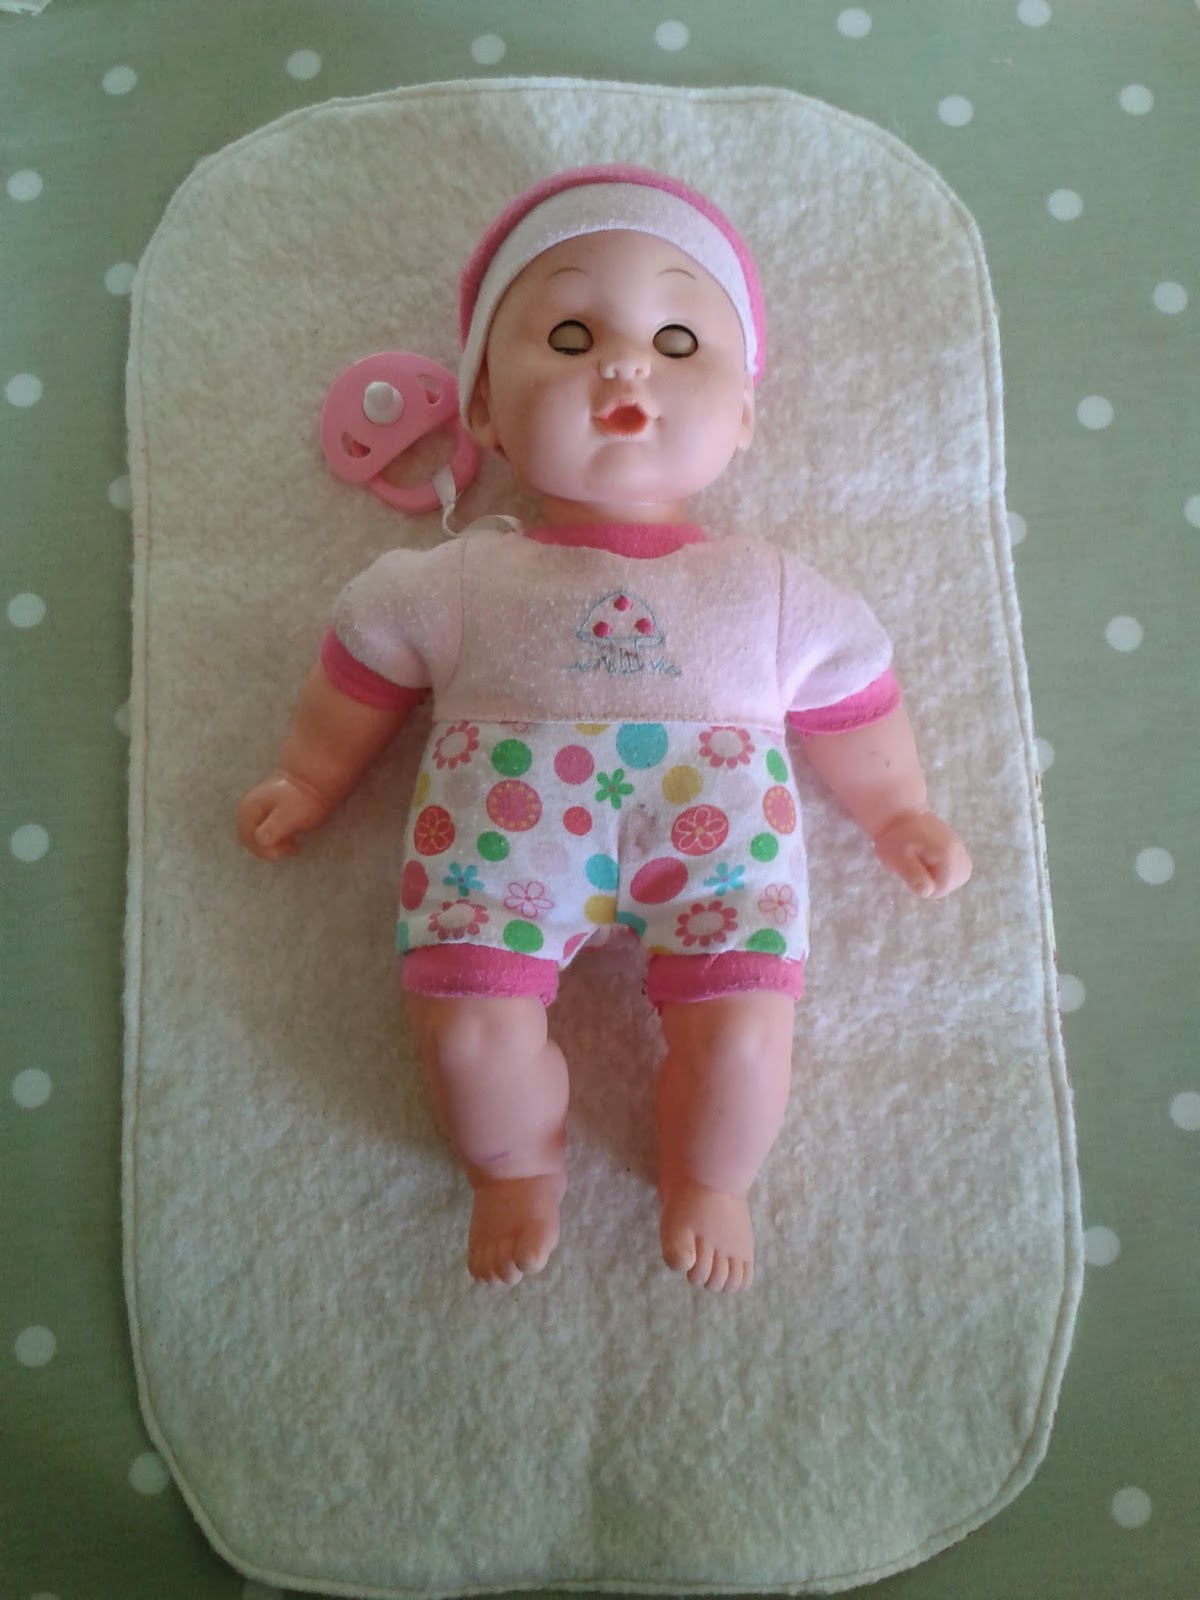
I also made a small change mat for dolly too! Why not?!
 

Change mat 
 
I used a cotton and a really soft fluffy fabric.
Cut your fabric both to the same size.
As above I wanted rounded edges on each corner.
Sew round all the edges right sides together leaving a small gap on one side for later.
Turn the right way round and press.
 Here is my gap, sew around all the edges paying particular attention to the gap so all the edges are gathered in.
Thats its!
Very quick and easy!
 
I would like to make some bibs and nappies for dolly too, maybe another time!

Thursday, 16 January 2014

Hanmade bunting

Rently we moved my daughter into a different bedroom. She got to choose some new bedding and a lamp but I wanted to add something extra. So I decided to make some pretty bunting.
If you havent made bunting before it is very stright forward and as its quick you get good results quickly.
Here is a step by step to make your own bunting.
 
Make a triangle shape out of card. This will be your template for all your flags.
Cut out backing fabric and a mix of other fabrics for the front.
I then paired the triangles together - sandwiching right sides together a back triangle and a coloured triangle.
 
Sew around the two long sides, leaving the top open.
Cut the tip off the bottom corner, but dont cut into the stitches.
Turn the triangle the right way round and press.
Do this for all your flags.
 
 I used white bias binding. Start sewing at the beginning of the binding ( so there is space to attach or tie it up) then open it up and insert a flag. Make sure all of the top part is incased.
When you have sewn one flag in measure the length between the next one to sew in. Keep this gap the same between each flag.
Keep going until each flag has been sewn.
Leave some space the other end for tieing your buntning like you did at the beginning.
 
Thats it!
This really didn't take me long to make.
What don't you give it a try.
Have fun!


Hanmade quilt

So do you remember a while ago I showed you the quilt I had started? check out here
Well its finished!
Hooray!
Here it is!


I used a mix of fabrics for the front, sewn together in lengths. I then had some pink and checked fabric cotton for the back. I made the back slighty bigger so that I could use that as the binding around the edge sandwiching all the layers together.
This was for my daughter, I finished it whilst she was out, put it in place and showed her on her return and she loves it! I hope it will be something she keeps for a long time!